In First Grade, we finished discussing the Artwork of Kandinsky. We learned that he loved to put shapes in his Artwork and felt that Art did not have to show one specific thing, it could be Abstract. We discussed what Abstract means in Artworks as well as how colors can be used to show emotion within the Art.
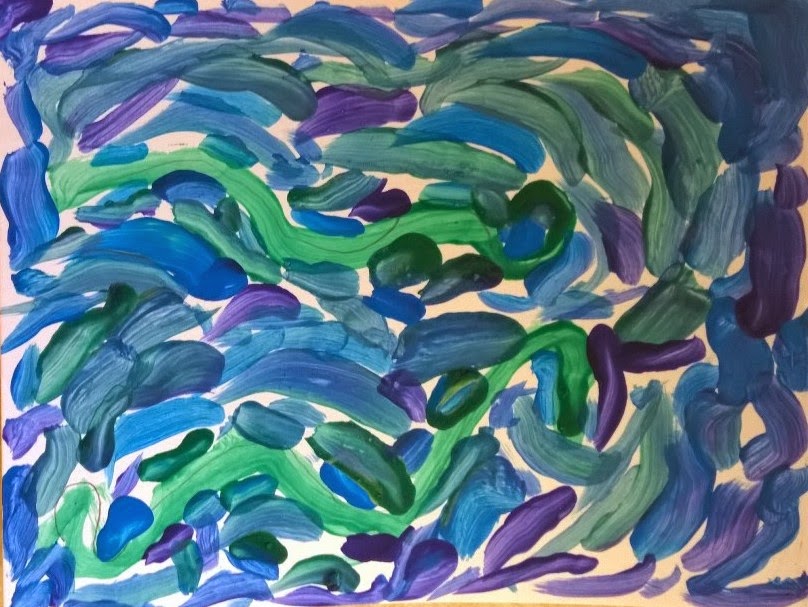
After looking at some of Kandinsky's works, we began creating our own Abstract Art inspired by his paintings. First Graders selected one shape or a variety of shapes and then outlined them with Oil Pastels. We then learned about Watercolor and how it is different than other paints, it needs to be light in appearance and needs to be made wet to work with. The Oil Pastel resists the paint and allows the different colors to show through.
Here are some of our Abstract paintings:
Friday, January 2, 2015
Kindergarten Gingerbread Man
In Kindergarten, our special Winter project was creating our very own Gingerbread Man out of clay. First, we read the book Gingerbread Baby which was enjoyed by all, then we started off on creating our own Gingerbread Man. The students received a pre-rolled slab of clay and then a stencil in the shape of a Gingerbread Man. They traced the stencil into the clay and cut out their figure. Then, details were added- buttons, mouth, nose...
To add color, we used Oil Pastels-any color they wanted, and then Brown watered down tempera paint. This gave them the 'cookie' look. The students had a lot of fun working with the clay and seeing their Gingerbread people come to life.
Second Grade Pointillism Landscape
In Second grade we are finishing our project where we explored the painting technique of Pointillism. We discussed the Artist Georges Seurat and his paintings, looking at his use of colors and Pointillism.
We learned about the different parts of a Landscape Artwork- Foreground, Middle ground, and Background. We created sketches where we used our knowledge of the Landscape parts and created our own Landscapes.
After discussing the parts of a Landscape, we started looking at Georges Seurat and his paintings- focusing on his use of Pointillism. We practiced Pointillism by creating a color wheel and using markers to give the illusion of the colors mixing to create the desired color. In Pointillism, the painter places colors close together to trick the eye into mixing them.
Here are some of our color wheel practices:
Here is our final Pointillism Landscape:
Third Grade Van Gogh Corn
In Third grade we are looking at Van Gogh's painting style and how it shows movement with his short brush strokes working together to fill his canvas. We also discussed the drawing technique Contour Drawing. We learned when Artists make contour drawings, they are focusing on three things- Shapes found in the object they are drawing, the outline of the object and any details that can be seen on the object.
We practiced Van Gogh's painting technique, using two lines for guide lines and then placing our short brush strokes around them. These are some examples of the practices:
Our final artwork combines our contour drawing where we looked at some Fall Harvest Corn and then filled the background with our painting technique.
Tuesday, December 2, 2014
Fourth Grade Molas
In Fourth Grade, we completed a project where we discussed the Kuna people of Central America and their Artwork- Molas. A Mola is a piece of fabric where the Artist uses many different colors and sizes of fabric to make their image. The subject of their Art is anything from their daily life, animals they may encounter around their homes, or abstract images and designs.
We discussed different types of symmetry that can be seen in their various designs, Reflection and Rotation were the two main ones we focused on. When we created our Mola designs, the Fourth graders were able to think of their own subject and create a sketch of their idea. They planned out their colors as well as their layers in their sketch, so it was good practice in planning out their ideas before creating the final product. The end results were very beautiful, a lot of cutting and work time went into the creation of our Fourth grade Molas.
Kindergarten Line Flower
In Kindergarten, we used our new knowledge of many different lines to create a Line Flower. In this project, we started discussing shapes- Circle and Rectangle, and used them to create our Flower.
For the top of our Flowers, we used three different sized circles and inside of each circle we created lines. Any kind of line that we talked about was okay for the Kindergarteners to use in their flower. After creating their lines, Kindergarteners were able to trace over their lines with crayon and then color in if they wanted.
This was another great opportunity to practice using scissors, the small nibbles and big chomps.
Kindergarten Cut Out Lines
In Kindergarten, we just finished learning about different types of lines and how we can create them. We discussed Wavy, Zig-Zag, Straight-Horizontal and Vertical, Thick and Thin, Diagonal, Spiral and a few fun others. We practiced our lines on a worksheet where there were labeled squares and we filled them in with the matching line, we did this activity together.
Upon finishing the practice, the Kindergarteners selected three lines to use on their project. These lines were drawn on black construction paper and then cut out. We discussed how it is easy to cut out lines when our scissors use little nibbles and not big chomps. This project was great scissor practice!
Once the lines were cut out, the black pieces of paper were then glued onto a colored paper that we filled in with crayons using ROYGBIV (the rainbow). The black papers were placed far enough apart so our colors peaked through and made a colorful line.
Subscribe to:
Posts (Atom)