In first grade we just finished learning about sculpture and what it is. We looked at a power point that showed students a variety of sculpture that allowed them to start building an understanding of what sculpture can be.
We then had an activity that students did where they applied their learning, they were grouped by tables and were given images of artwork that was both sculpture and not sculpture. The students were challenged to look through the images and organize the images into what was and was not sculpture. They had a lot of fun with this activity and it allowed them to talk about their learning.
We then created our own sculpture out of paper, a fish. The students created their own fish and then rolled paper strips and glued them onto a base to create water.
Here are some of our products:
Tuesday, April 7, 2015
Fifth Grade Foil Reliefs
In fifth grade we are finishing our discussions on different forms of sculpture. I had a power point where students were able to compare sculptures in the round and relief sculpture. The main difference between the two is that relief sculpture has a flat background that is either built up on or carved down into.
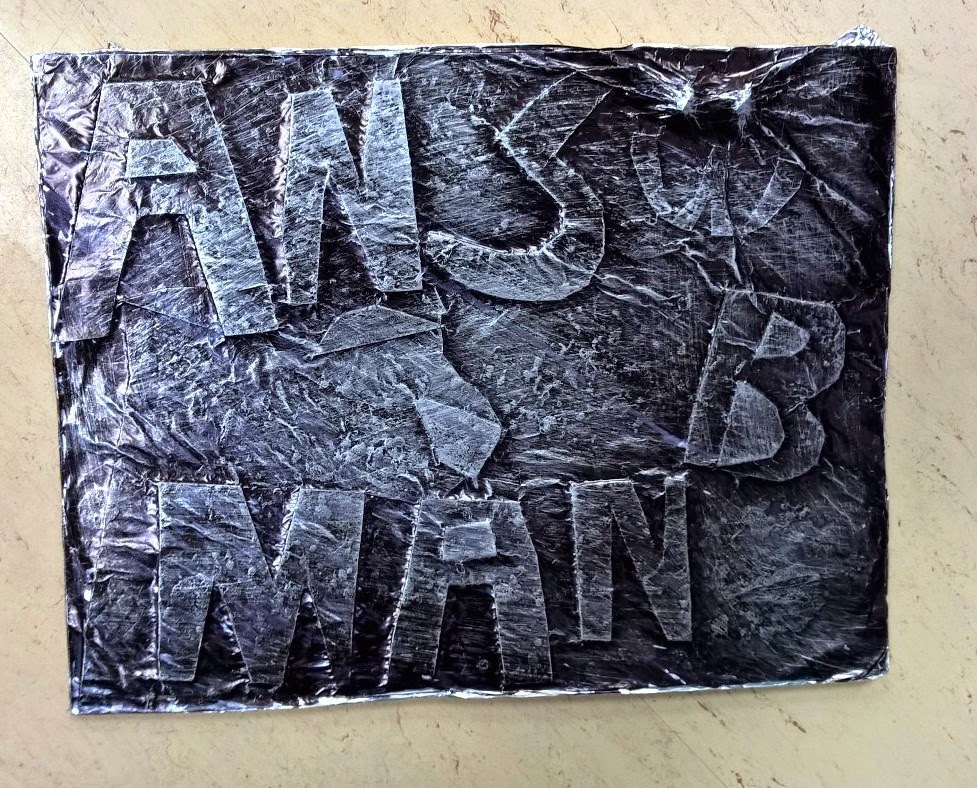
We then discussed our project, students were instructed to think of a word which would become the subject of their artwork. It could be their name, a nick name, a pet's name, anything. We then created lettering and cut those out and glued them onto a background.
Foil was then placed on top of our design once the word was glued down, then it was smoothed down around our design pieces. We then discussed a patina and what it is. We added a patina to our artwork by coloring in the front with a permanent marker and then rubbing it off with steel wool, causing different values of the marker to be shown in contrast with the foil.
Here are some of our examples:
Subscribe to:
Comments (Atom)


